Physical Address
304 North Cardinal St.
Dorchester Center, MA 02124
Physical Address
304 North Cardinal St.
Dorchester Center, MA 02124

Master the art of defrosting a mini fridge with our essential how-to guide for hassle-free maintenance!
When you’re short on space but still need to keep your snacks chill, mini fridges are your best bet. These little cooling champs do the job without hogging all the room, just right for storing goodies when you don’t have space for a giant fridge.
If you’re stuck in a dorm or squeezed into a cozy apartment, a mini fridge is like a lifesaver. It’s perfect for slipping into tight spots while making sure your drinks are frosty and your leftovers fresh. They’re friendly on your power bill, sippin’ less juice than the big guys. So, if pinching pennies is your game, these fridges are a win-win for your wallet.
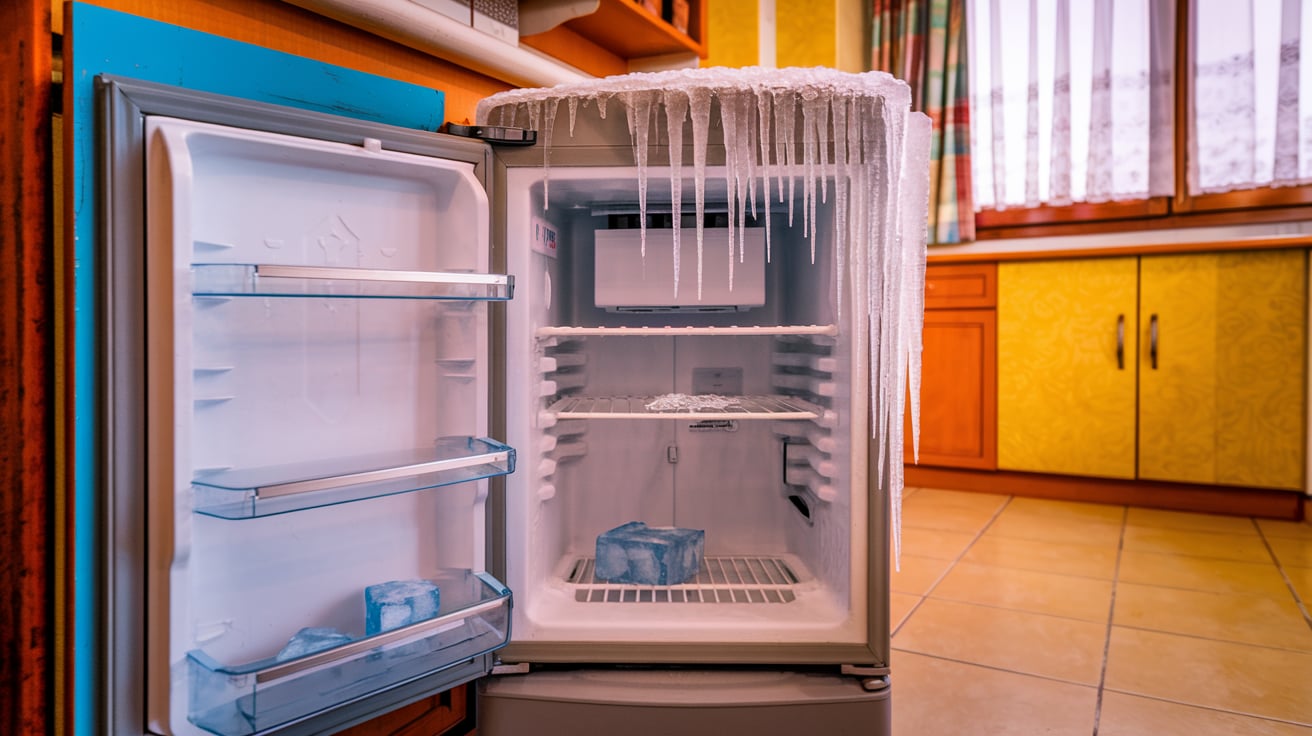
Mini fridge maintenance isn’t exactly rocket science, but keeping ’em frosty fresh means you gotta tackle defrosting from time to time. When ice starts its takeover inside your fridge, cooling goes downhill fast, and your power bill might just have a tantrum. Keep things running smoothly by giving that frost the boot once in a while.
Our handy guide on how to defrost a mini fridge breaks it down for you. It’s all about showing ice who’s boss and keeping your little cooler working like a dream. A quick defrost now and then and you’ll ensure your fridge is chillin’ right and lasts longer.
Getting ready to defrost your mini fridge is key if you want things to go off without a hitch. The prep work is as simple as clearing out the fridge, yanking the plug, and finding the right spot for the thawing action.
First up, get everything out of the fridge. Clear out those snacks, leftovers, and all the bits and bobs you’ve tucked away. It’s a good idea to figure out where you’re gonna stash that food so it doesn’t turn bad while your fridge is on pause.
Taking everything out clears the decks for giving the inside a proper clean and an easy thaw. Chuck out any moldy or ancient goodies and sort the rest for when it’s all over.
With your fridge as empty as a Monday morning donut box, it’s time to unplug it. This step keeps everyone safe from getting zapped while the fridge is fighting off ice. Look for that cord and pop it out of the socket.
Now, find a good spot to park the fridge while it defrosts. You want a surface that’s nice and flat with plenty of space for the fridge to breathe. Steer clear of heaters or windows where sunbeams can mess with the process.
Setting up the fridge properly keeps it steady, and reduces the chance of you going all Humpty Dumpty with it. Stick to these prep steps, and you’ll make the whole defrosting saga short and easy. If you’re curious about more tips and tricks, give our article on how to defrost a mini fridge a read.
Keeping your mini fridge in tip-top shape means dealing with pesky ice buildup now and then. Let’s make sure your fridge is chillin’ the right way—no more glacier inside. Proper defrosting keeps it cooling like a champ.
This ain’t rocket science, folks. It’s just about getting rid of the frosty clumps in there. Just follow these simple steps:
Power Down: First thing, yank that plug outta the socket. Clear everything out from your fridge. We don’t want any surprises soaking up those snacks.
Peek Inside: If your fridge is fancy with a freezer compartment, swing that door open. The frost is hiding in there.
Melt Down: Slide a few towels below to catch drips. A hairdryer on low gently melts away ice—no hurries, no worries.
Water Patrol: Mop up any melting mess with a sponge or towel. We don’t want a puddle party on the kitchen floor.
Scrub-a-Dub: Once the ice is history, give the inside a good scrub with some mild soap and water. Make sure it’s bone dry before you throw your stuff back in. We’ve got a whole shebang on cleaning these babies for aftercare—you might wanna check our guide here.
Ain’t nobody got time for slow defrosting. Speed things along with these tricks and cut-down time spent waiting for the ice to melt.
Steam Power: Pop some bowls of steamin’ hot water inside. That warm air will have the ice speeding outta there.
Fan Frenzy: Set a fan in front of the open door to circulate some air inside. Turbocharges the melting magic.
Chisel Away: Gently chip at big ice chunks using a plastic scraper or a spatula—but no knives, you’re not Gordon Ramsay in there.
Try these out and you’ll keep your mini fridge running smooth and serving up cold snacks and drinks like it should. Regular defrosting as part of fridge upkeep will help it last longer than your last breakup.
After you’ve tackled the icy fortress that was your mini fridge, your next step is to tidy up the interior and get it back to chiling your snacks like a pro.
With the ice gone and the fridge looking a little like its cavernous self, it’s time to roll up those sleeves. Here’s how to give your mini fridge the spa treatment:
A clean fridge is a happy fridge, so keeping it tidy helps your snacks stay fresh and tasty. And if you’re chilly dreams aren’t coming true, head over to our article on how to make a mini fridge colder for a deep freeze dive.
With a squeaky-clean fridge, it’s time to power it back up and get it running like the cool champ it is. Here’s how:
Stick to these post-defrosting routines, and your mini fridge will keep your munchies fresh and frosty. Regular defrosting and cleaning not only extend your fridge’s life but ensure it performs like a champ!